|
|
| Dash Top Vinyl Installation |
Dash Top Vinyl Installation
Tools and Supplies:
Flat Head Screwdriver - medium
Popsicle sticks - 20- 30
Spray Trim Adhesive
Adhesive remover
Scissors
Vinyl - cut to size
Closed-cell foam - cut to size
Blue Masking Tape
Roll of Butcher Paper (or a bunch of newspapers)
Poster Board
Pen/Marker
Putty knife
Shop towels
I was fortunate to have the windshield out, but others have said it is/should be possible to replace the vinyl with it in place.
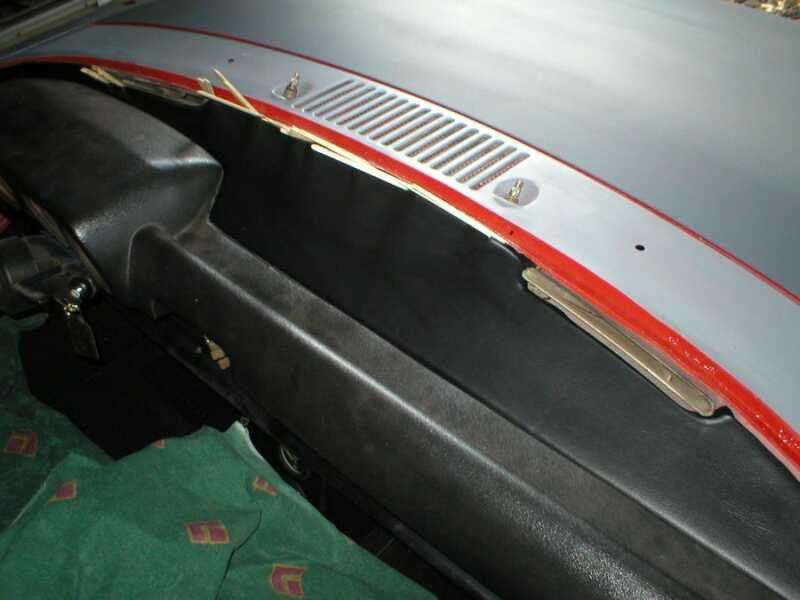
Step 1: Remove the old vinyl
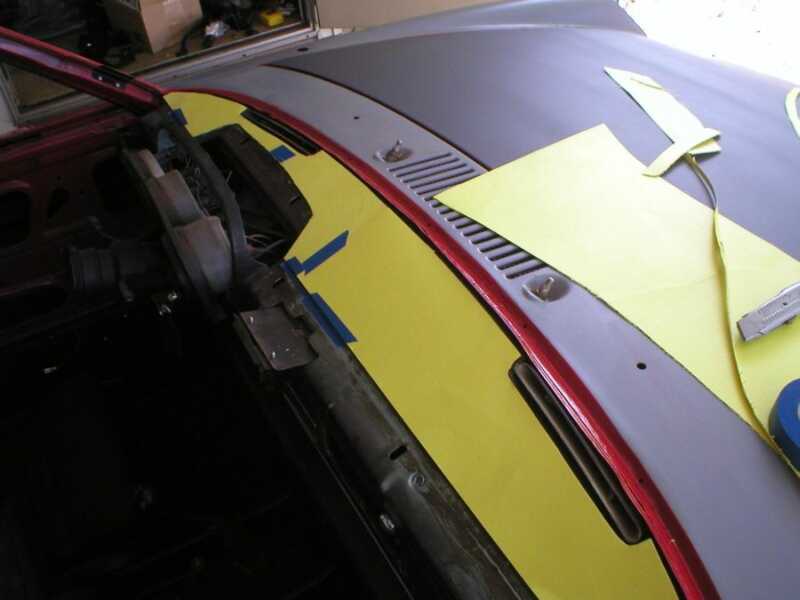
I started this installation by removing the dash top. Next, if you have the old vinyl still on, you'll need to remove it and the foam underneath. Be careful with the old vinyl as you can use it as a template. Unfortunately, I didn't have that luxury. So, once I removed the dash top, I had to make a template. I made the template to fit exactly where the foam should lay.
Step 2: Cleaning and prep
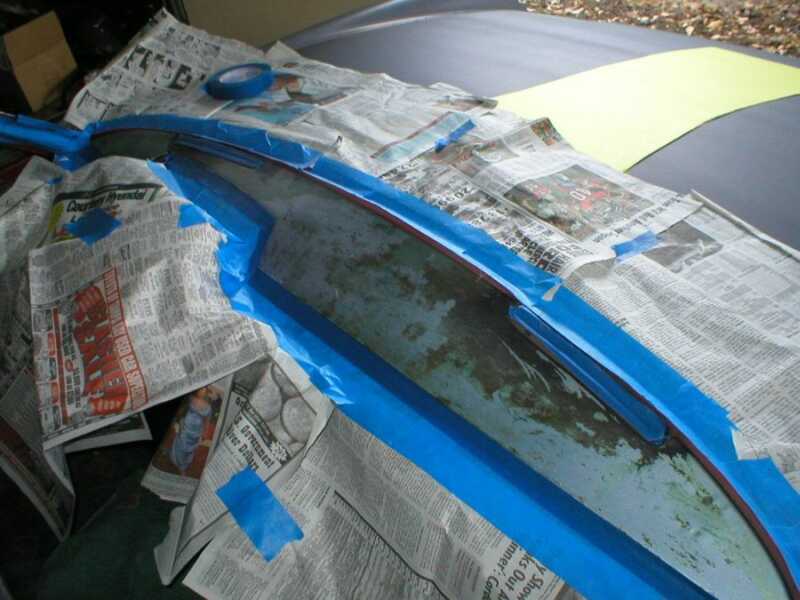
Next, clean all of the foam and residue glue. This shows how I taped everything that isn't going to get glue. After I taped, I used the template to cut a pattern from the foam. I highly recommend getting the 1/8" closed-cell type.
Step 3: Glueing the foam
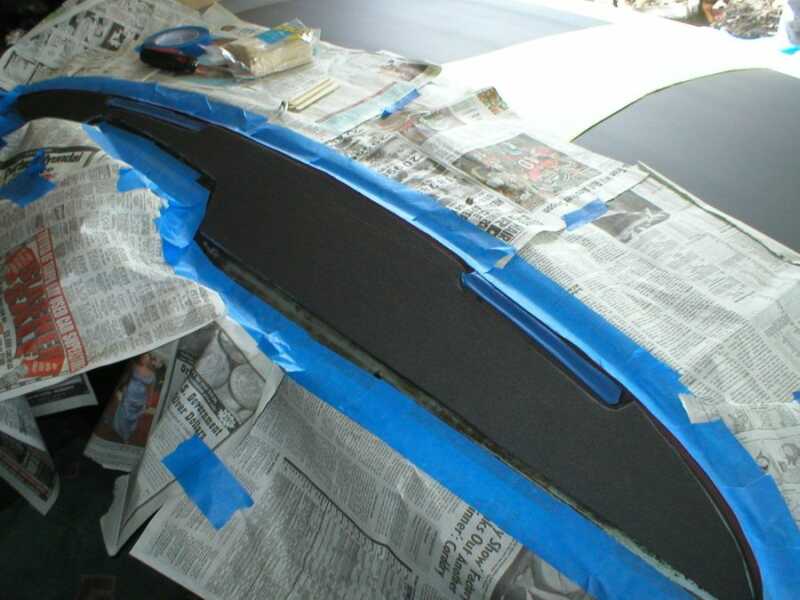
Next, you'll need to spray glue on the metal, at least twice, and on the back side of the foam. I have had great results with 3M Super 77 spray adhesive. This shows the foam glued down.
Step 4: Glueing the front of the vinyl
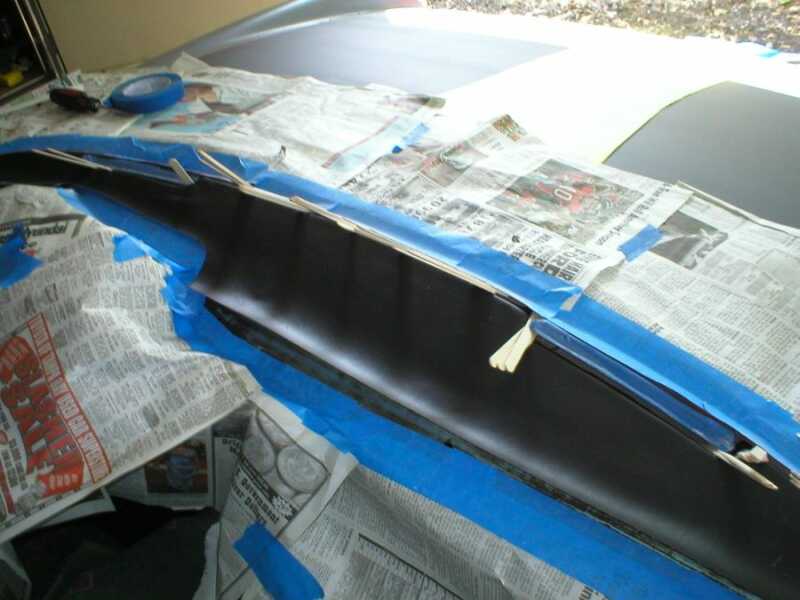
Next, I used the same template to cut the vinyl, but cut an extra 3/4" all around. Once you cut it, lay it down and make certain it fits. The front section will go underneath the windshield and around the vents. The rear section will go underneath the dash pad. When you're ready, spray the glue only on the outer edges of the foam, underneath the windshield and under the vents. Also, spray on the back side, about 2", around the edges of the vinyl on the front section only. If you have a helper, they should hold one side as you place the vinyl on the foam. I used a screwdriver to tuck the edges, then used popsicle sticks to hold it down.
Step 5: Final glueing of the vinyl
After letting the outer section dry, I glued the inside section. Again, only spray the glue on the edges of the foam, metal and vinyl. After everything was down and in place, I set the dash top to help hold the edges in place. They only area that you'll have a concern is around the vents. Make certain it is glued down well. The rear section will be covered by the dash pad and the front section will be held down by the front windshield seal.
|
|