|
Dash Top Removal
I began removing the
top dash pad by removing the instrument cluster. If you haven't
removed the steering wheel and knee pad, do that now. Next, remove
the 4 screws that hold the cluster to the dash. Now, just pull the
cluster forward, without removing the electrical connections. I have
removed the cluster completely from the car because I'm stripping it.
You don't have to do this to remove the dash top.
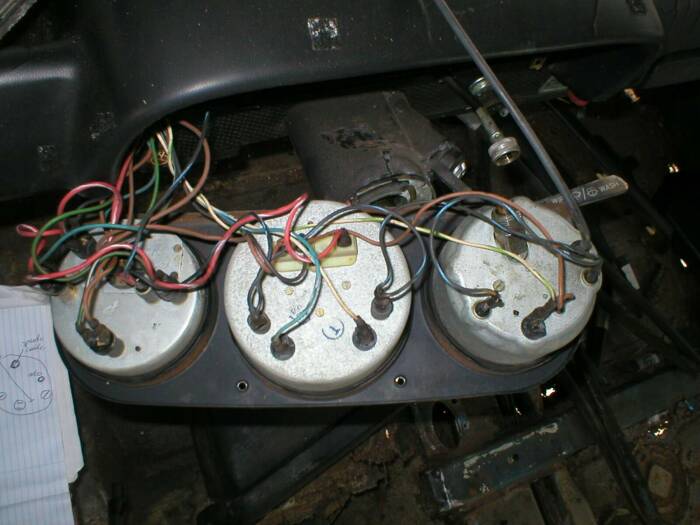
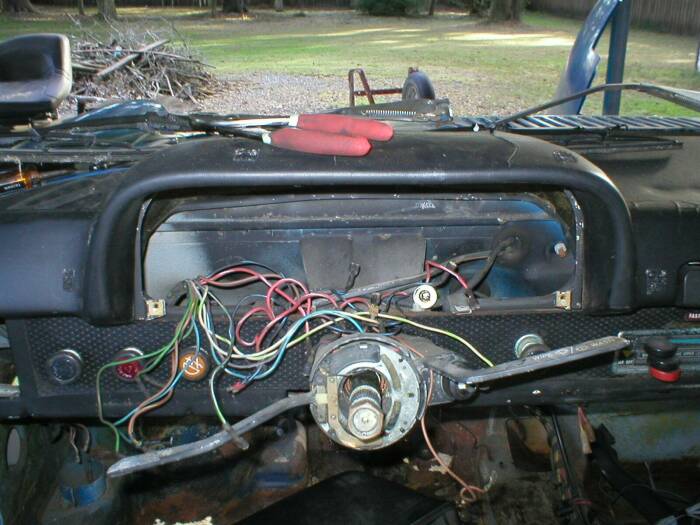
This shows the steering wheel and instrumentation cluster removed.
Again, I did this because I'm stripping the car and to be able to
better photograph the location of the nuts/bolts.
Once the cluster is out of the way, you can remove the 2 plastic nuts
that are directly behind the instruments on the 'hump' section.
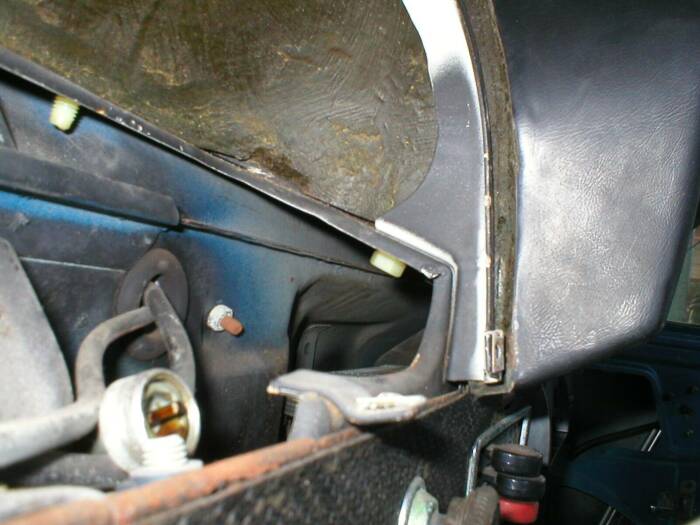
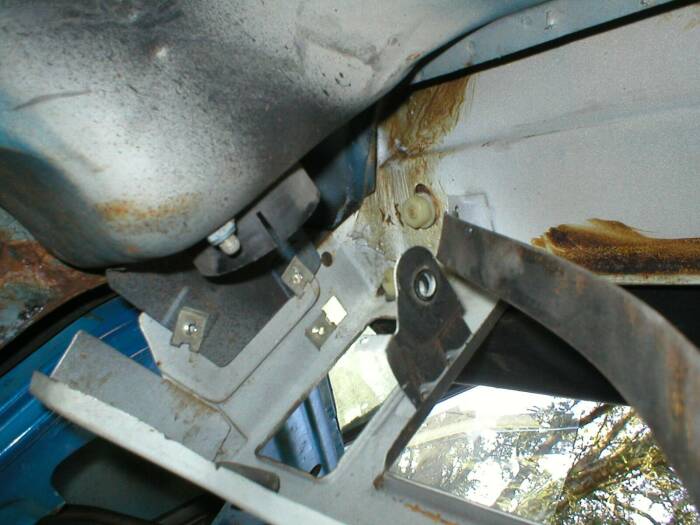
There are 2 nuts that need to be removed from this area. There is one
that is directly above this opening, facing towards the front of the
car. The next one is just to the right of the opening, facing down.
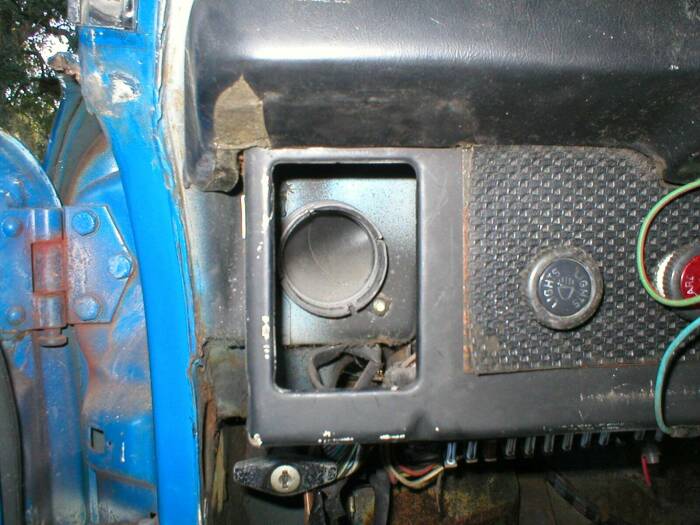
The next one is between the 'hump' and the ashtray. This shows the
nut looking in from the cluster opening. This one is pointing down.
Next I removed the ashtray. This isn't necessary, but since I'm
stripping the car I just wanted it out of the way. I also removed the
radio.
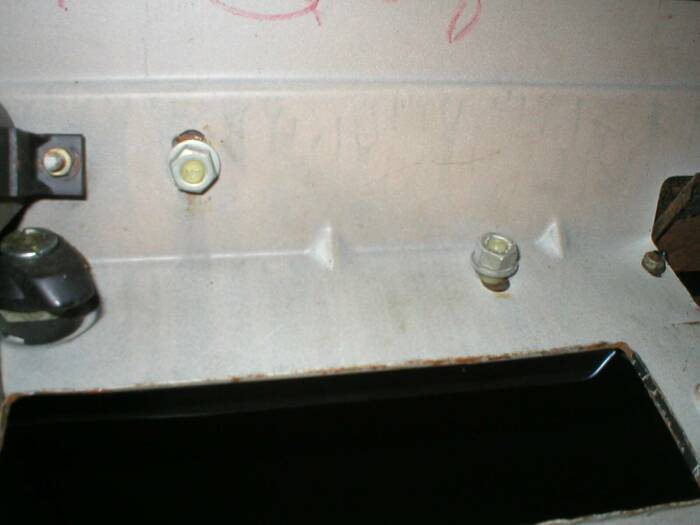
This shows the next 2 nuts. There is one directly above the radio
opening, near the driver's side, pointing forward. The other one is
just off center of the radio opening, pointing down. This shot is
from underneath the dash. The large dark rectangle is the radio
opening.
Next I removed the glove box. Begin by removing the small nut, facing
down. This holds the metal strap that wraps around the box.
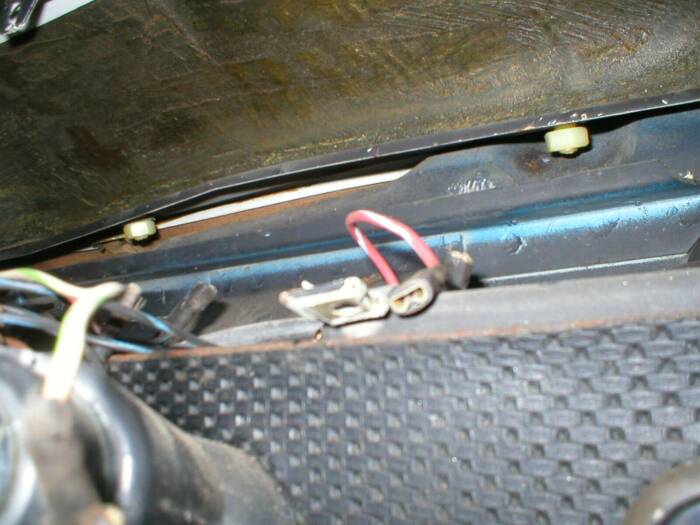
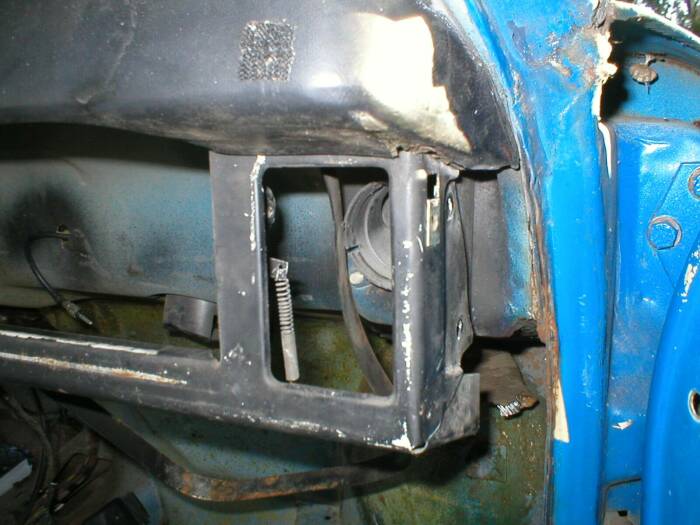
Before removing the glove box, remove the spring, seen here through
the vent opening. Finally, move the metal strap out of the way and
carefully push the glove box, with its door, towards the front of the
car. The box will be removed from underneath the dash.
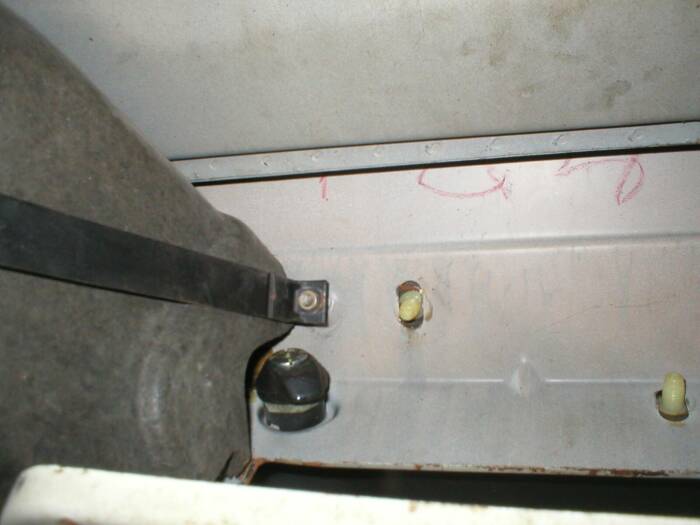
The last 2 nuts can now be removed. Both are directly above the vent
opening. One is facing down, the other is facing forward.
Now, carefully pull the dash top up. There are 9 nuts that need to be
removed. If you don't have 9 and there is some resistance, stop and
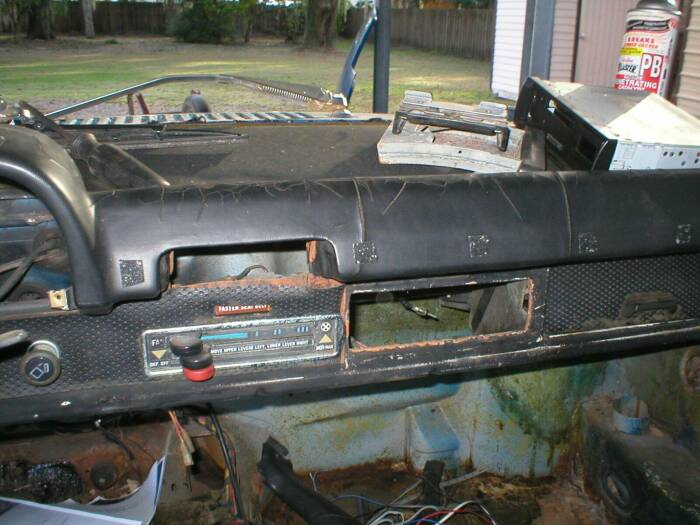
find the ones that are still attached. Here's the dash top removed.
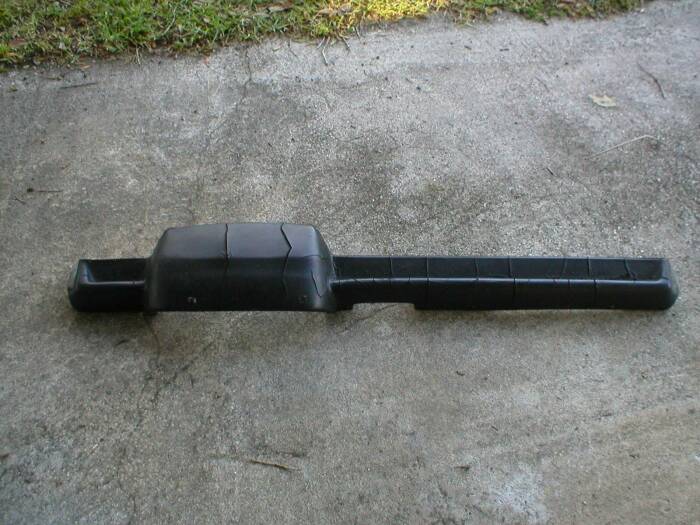
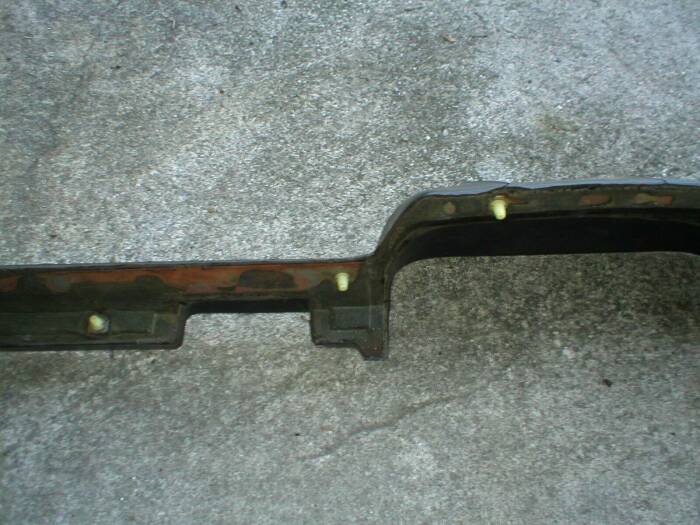
This shows the plastic bolts on the passenger side.
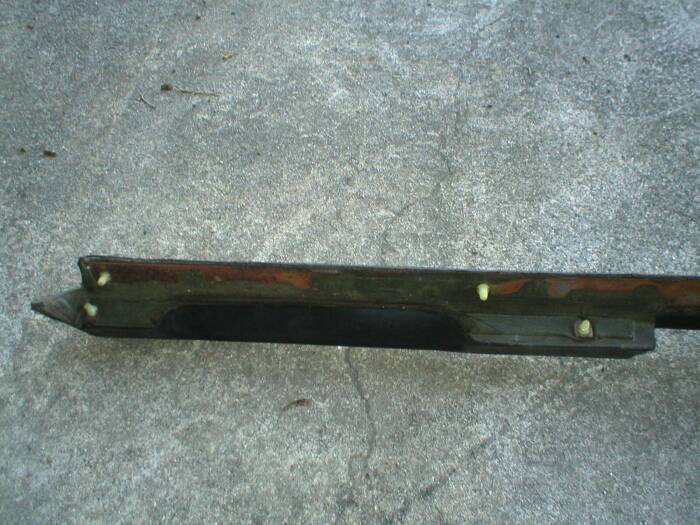
This shows the bolts around the ash tray.
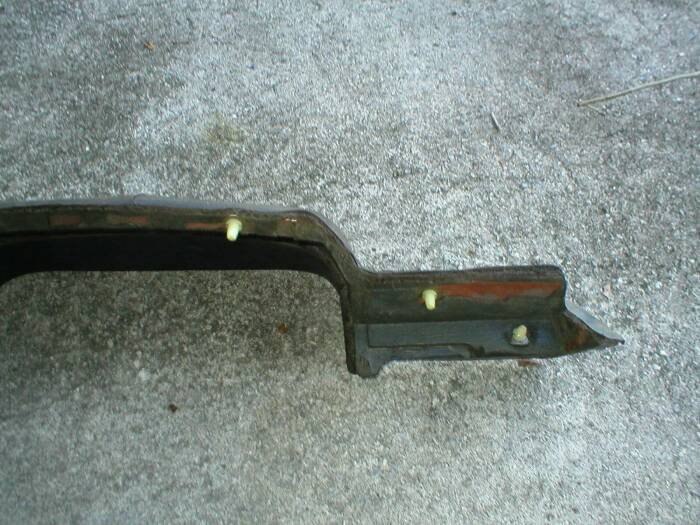
This shows the bolts on the driver's side.
|