|
|
|
Porsche, and the Porsche crest are registered trademarks of Dr. Ing. h.c. F. Porsche AG.
This site is not affiliated with Porsche in any way. Its only purpose is to provide an online forum for car enthusiasts. All other trademarks are property of their respective owners. |
|
|

  |

| morehills |
 May 27 2025, 03:08 PM May 27 2025, 03:08 PM
Post
#1
|
|
Member  Group: Members Posts: 105 Joined: 2-March 23 From: Great Barrington, MA Member No.: 27,202 Region Association: North East States |
OK, I'm stumped. Videos show that you can pull the seal down the channel, or work it in by levering one edge over the channel, but I can't make either method work. I can pull the seal about halfway before it stops. Seal is just too stiff to lever it in from one side.
There must be an easier way. Using WD40 and silicon spray for lube. Any advice? Thanks, John Attached image(s) 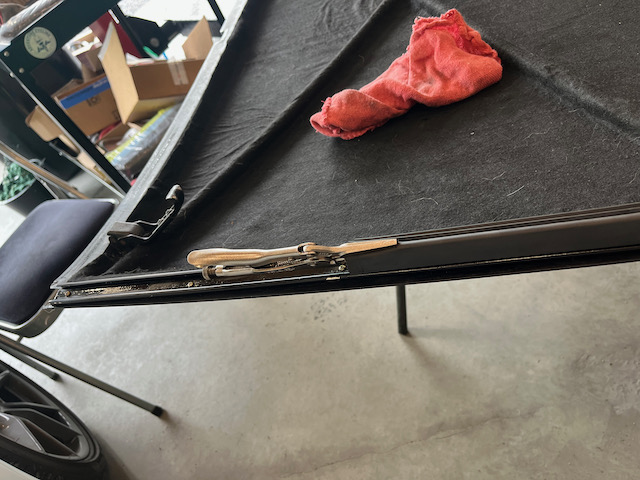
|
   |

 
|
| DC_neun_vierzehn |
May 27 2025, 03:56 PM
Post
#2
|
|
Senior Member Group: Members Posts: 516 Joined: 16-November 20 From: Delaware Shore Member No.: 24,893 Region Association: MidAtlantic Region |
Just put new seals on my top a month or so ago (914 Rubber brand). I used LOTS of Softsoap brand liquid soap - both on the seal before putting it into the channel as well as on each channel. It also took LOTS of muscle - it took nearly every ounce of muscle I had to give to get each one pulled down all the way. It would get tougher the further down the channel I went which is logical because there's friction the further you go. I had to take breaks to give my arms a chance to recover from each pull. Seriously. Also ... LOTS of cussing and sweating was involved. My wife was not impressed with either. But a couple of hours later it was done. Hope I never have to do it again.
|
|
|
|
| morehills |
May 27 2025, 04:04 PM
Post
#3
|
|
Member Group: Members Posts: 105 Joined: 2-March 23 From: Great Barrington, MA Member No.: 27,202 Region Association: North East States |
I often find myself at a dead end and wonder how they did this in the factory. Certainly not three hours of work. Or 8 hours aligning the headlights!
I think one of my problems may be the channels themselves. They have a lot of little bends. I may pull them off and start over after doing some minor metalwork. Or see if I can locate new ones. |
|
|
|
| scallyk9 |
May 27 2025, 04:20 PM
Post
#4
|
|
Member Group: Members Posts: 353 Joined: 16-October 16 From: Port Orchard, WA, USA Member No.: 20,499 Region Association: Pacific Northwest |
I installed these 914rubber seals a few years ago and followed their instructions using the largest flat-bladed screwdriver I owned, after Soft Soap and various lubricants failed...or maybe I wasn't strong enough! I thought it might tear the gasket, but after a few minutes I developed a rhythm of pushing in with the blade and using a slight twist to seat the one side. Then it went quicker. It was time consuming but did work well. Back to front and be sure not to cut the excess near the front latches until totally finished.
|
|
|
|
| jim_hoyland |
May 27 2025, 04:20 PM
Post
#5
|
|
Get that VIN ? Group: Members Posts: 9,749 Joined: 1-May 03 From: Sunset Beach, CA Member No.: 643 Region Association: Southern California |
It was a two man job that last time I did it (IMG:style_emoticons/default/smile.gif)
Try using Windex as a lubricant, it really helps |
 |
|
| Superhawk996 |
May 27 2025, 05:23 PM
Post
#6
|
|
914 Guru Group: Members Posts: 7,113 Joined: 25-August 18 From: Woods of N. Idaho Member No.: 22,428 Region Association: Galt's Gulch |
QUOTE(morehills @ May 27 2025, 06:04 PM)  I often find myself at a dead end and wonder how they did this in the factory. Aftermarket parts are nothing like the factory parts were. Wrong geometry, wrong durometer. Rest assured that they were not this hard to install. Trust your gut. |
|
|
|
| Puebloswatcop |
May 27 2025, 05:49 PM
Post
#7
|
|
Senior Member Group: Members Posts: 1,472 Joined: 27-December 14 From: Mineola, Texas Member No.: 18,258 Region Association: Southwest Region |
I would recommend using wire lube (Available at most hardware stores) It is water based so won't cause problems later for the seal. If you have an extra set of hands, you pull and they can kinda push from the other end.
|
|
|
|
| TonyVan |
May 27 2025, 06:07 PM
Post
#8
|
|
Newbie Group: Members Posts: 33 Joined: 3-December 07 From: San Jose, Ca Member No.: 8,412 Region Association: Northern California |
Just did this a couple of weeks ago. Also used liquid soap on the seal and the channel. I'd push it, to start, then go to pulling. Once it got difficult, I went back to pushing. After about 10 minutes, it was in.
Pull, push..... repeat Tony |
|
|
|
| Chad911sc |
May 28 2025, 09:05 AM
Post
#9
|
|
Member Group: Members Posts: 117 Joined: 24-September 24 From: Florida Member No.: 28,374 Region Association: South East States |
Just did this a few weeks ago…forget the push pull! It doesn’t work. Get this plastic tool from harbor freight, it comes with a set of 4 for less than 10bucks. Use the soft soap as instructed above, but put the seal all the way in the track on one side. Look closely at the rubber seal and you will see that one side( I think it’s the side that faces out of the car) it has more involved shape with more curves, that’s the side you install all the way. Then use that tool to work in the opposite side while pushing against the side that’s already in. It will go in easily about a half inch at a time. I had to completely disassemble the tracks on both sides of the Martha top and bend the tracks to accommodate the seal to fit properly against the glass when completely rolled up. It took about 3 times on each side, so I had to find a better way! It really is easy with that tool, it doesn’t scratch or bend anything and for some reason with the angle of the tool on the side with the two fingers, it just works that rubber right in. Hold the tool with the fingers facing down and use only one side of the fingers to work it right in. Don’t forget the SOAP!
Attached thumbnail(s) 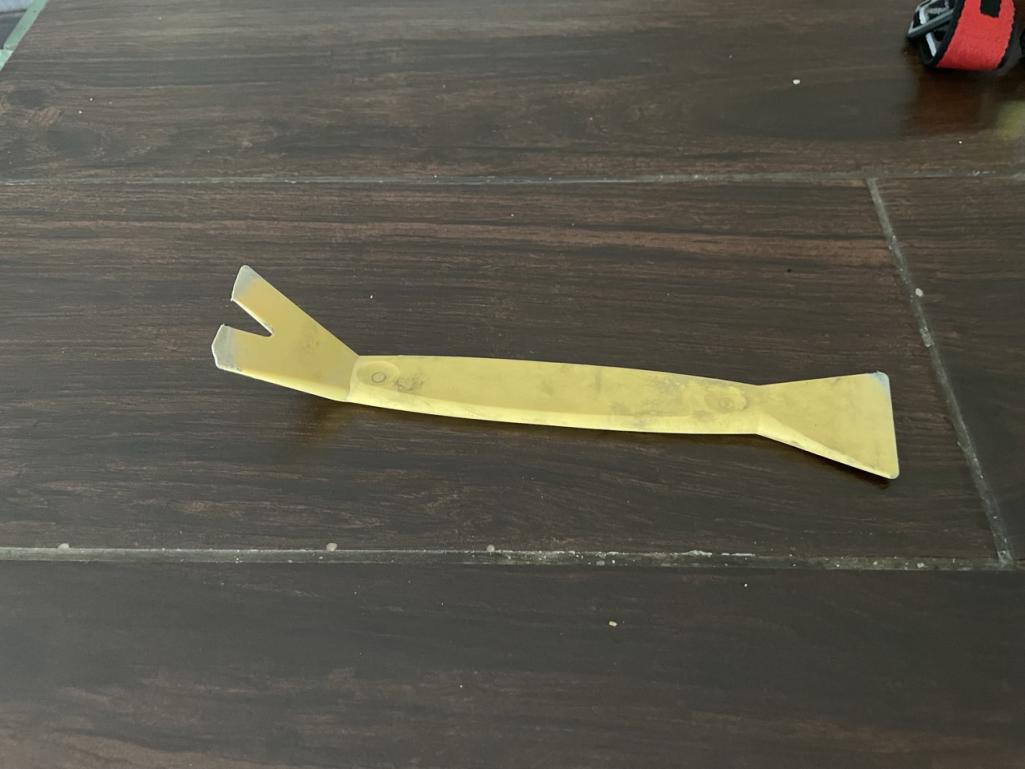
|
|
|
|
| DC_neun_vierzehn |
May 28 2025, 03:02 PM
Post
#10
|
|
Senior Member Group: Members Posts: 516 Joined: 16-November 20 From: Delaware Shore Member No.: 24,893 Region Association: MidAtlantic Region |
QUOTE(Chad911sc @ May 28 2025, 09:05 AM) Just did this a few weeks ago…forget the push pull! It doesn’t work. Get this plastic tool from harbor freight, it comes with a set of 4 for less than 10bucks. Use the soft soap as instructed above, but put the seal all the way in the track on one side. Look closely at the rubber seal and you will see that one side( I think it’s the side that faces out of the car) it has more involved shape with more curves, that’s the side you install all the way. Then use that tool to work in the opposite side while pushing against the side that’s already in. It will go in easily about a half inch at a time. I had to completely disassemble the tracks on both sides of the Martha top and bend the tracks to accommodate the seal to fit properly against the glass when completely rolled up. It took about 3 times on each side, so I had to find a better way! It really is easy with that tool, it doesn’t scratch or bend anything and for some reason with the angle of the tool on the side with the two fingers, it just works that rubber right in. Hold the tool with the fingers facing down and use only one side of the fingers to work it right in. Don’t forget the SOAP! I love this approach. Where were you a few months ago?!?!?! |
|
|
|
| Chad911sc |
May 28 2025, 04:06 PM
Post
#11
|
|
Member Group: Members Posts: 117 Joined: 24-September 24 From: Florida Member No.: 28,374 Region Association: South East States |
Working on this 914 project (IMG:style_emoticons/default/lol-2.gif)
Every car has a story…but I wish this one would quit sharing….lol Each time I go to fix something, I uncover a rats nest of shotty back yard redneck catastrophes! |
|
|
|
| Superhawk996 |
May 28 2025, 05:24 PM
Post
#12
|
|
914 Guru Group: Members Posts: 7,113 Joined: 25-August 18 From: Woods of N. Idaho Member No.: 22,428 Region Association: Galt's Gulch |
QUOTE(Chad911sc @ May 28 2025, 06:06 PM) Each time I go to fix something, I uncover a rats nest of shotty back yard redneck catastrophes! Wouldn’t be a 914 if this weren’t the case (IMG:style_emoticons/default/shades.gif) |
|
|
|
| Chad911sc |
May 28 2025, 05:45 PM
Post
#13
|
|
Member Group: Members Posts: 117 Joined: 24-September 24 From: Florida Member No.: 28,374 Region Association: South East States |
I guess I got spoiled with the first Porsche I bout 23 years ago. My 79 911sc. Bought it and drove it for 3 years straight without a hiccup. Then I had to cut out the front suspension support because it rusted out from the battery acid. Then I had the brilliant idea to restore it. That was 20 years ago and it still sits like this…..brand new engine and paint. Just have to finish putting it together.
I bought this 914 to just drive and enjoy. It looked perfect in the pics…lol He’ll hole repair/ frame repair/front end damage repair/ built new engine/ wiring fixes right now/ bumper and ground effect repair and paint….ect. Spent the last year daily working on it and still haven’t driven it yet (IMG:style_emoticons/default/screwy.gif) Attached thumbnail(s) 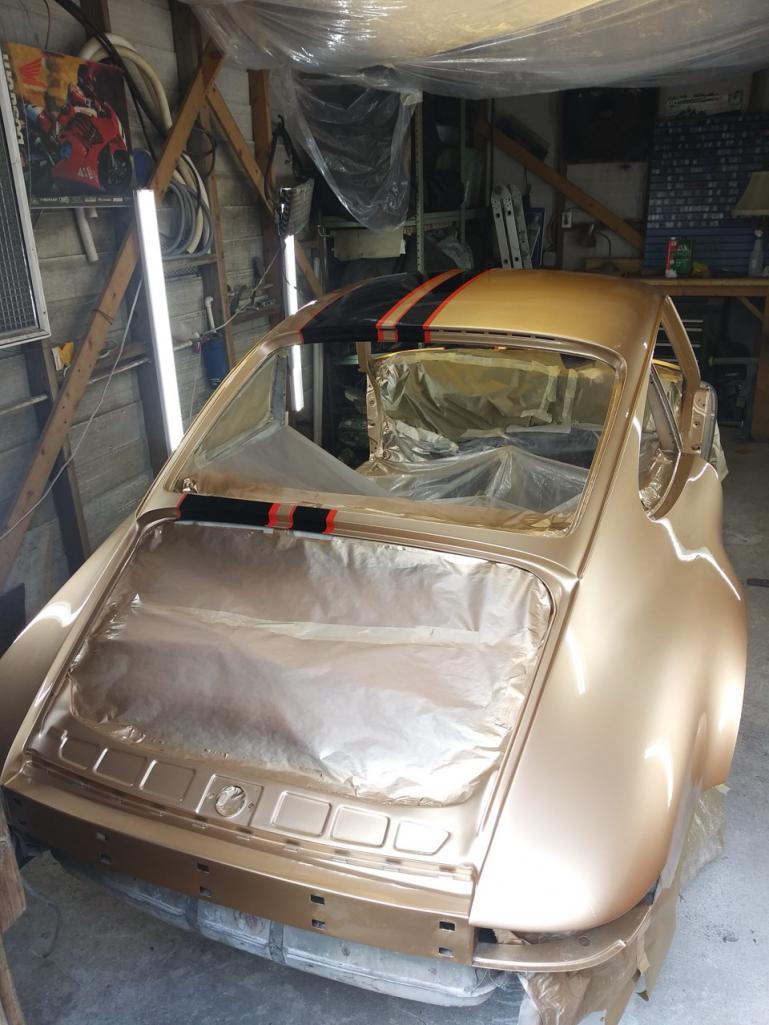  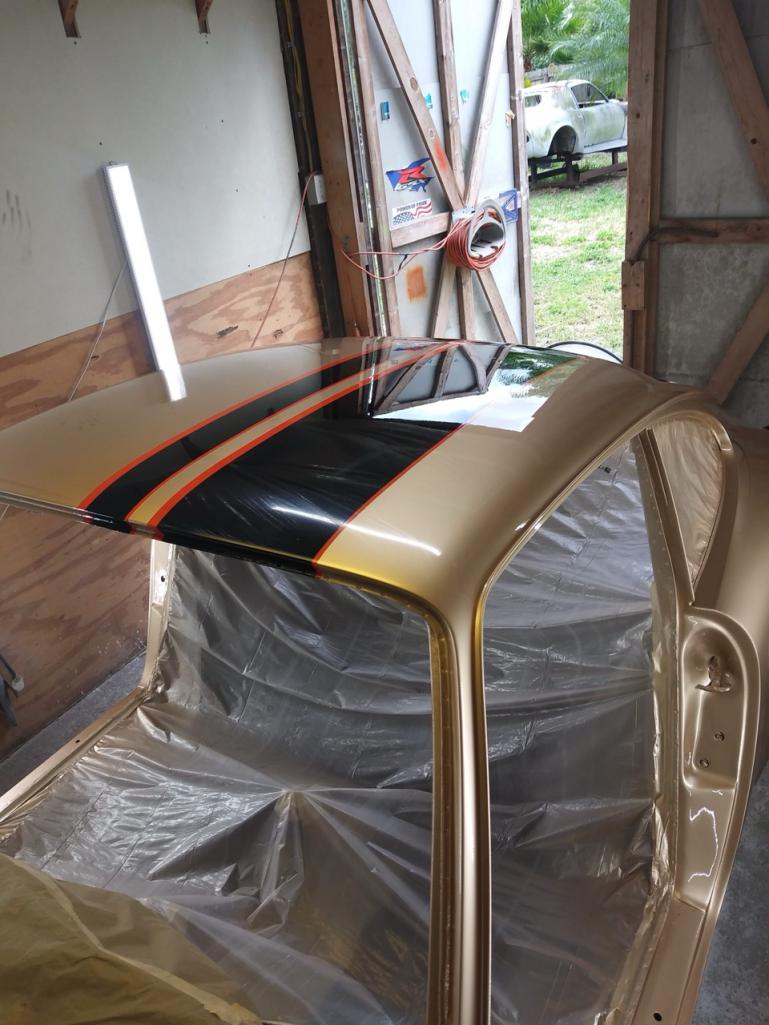
|
|
|
|
| bdstone914 |
May 30 2025, 06:24 AM
Post
#14
|
|
bdstone914 Group: Members Posts: 4,968 Joined: 8-November 03 From: Riverside CA Member No.: 1,319 |
Attached image(s) 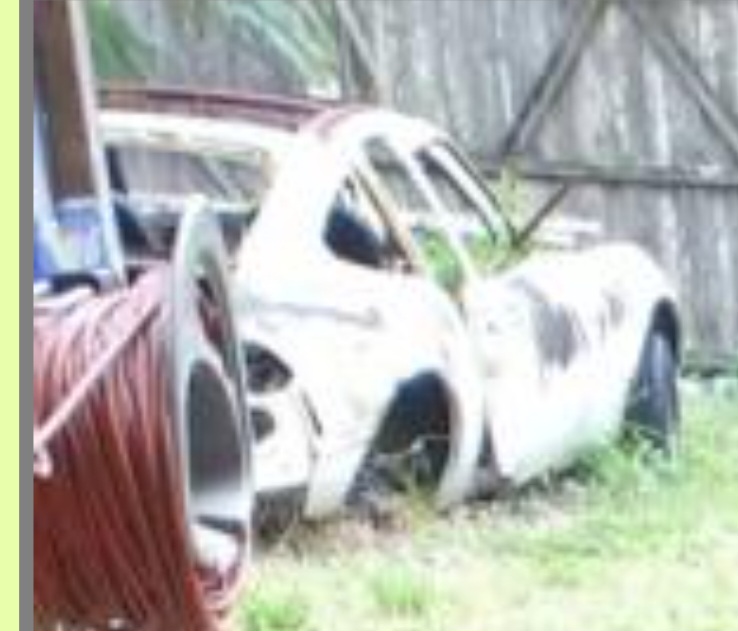
|
|
|
|
| Chad911sc |
May 30 2025, 01:05 PM
Post
#15
|
|
Member Group: Members Posts: 117 Joined: 24-September 24 From: Florida Member No.: 28,374 Region Association: South East States |
That was one of 3 different Opel GTs that I had. My neighbor drove me crazy for 3 years wanting to buy it, so I finally ended up selling it to him. That white one was just a parts car I stole the roof off of and some other miscellaneous parts from. The one that I sold to him was a prostreet frame, 4 link tubbed rear end set up, with a 347 stroker forged motor. It had all kinds of custom metal work done to it, including metal lower flairs, brake cooling induction…ect. It was only partially done and he still hasn’t finished it last time I talked with him. He moved last year so I don’t see it anymore.
|
|
|
|
| Chad911sc |
May 30 2025, 01:08 PM
Post
#16
|
|
Member Group: Members Posts: 117 Joined: 24-September 24 From: Florida Member No.: 28,374 Region Association: South East States |
If you look at the picture below that one, you can see the one I’m talking about. It was Very slick looking with all the metal work. I wish I wouldn’t have sold it now, but I had so many cars in the yard…and well, cash always talks.
|
|
|
|
| JeffBowlsby |
May 30 2025, 03:14 PM
Post
#17
|
|
914 Wiring Harnesses & Beekeeper Group: Members Posts: 8,927 Joined: 7-January 03 From: San Ramon CA Member No.: 104 Region Association: None |
To make a too rigid rubber seal more pliable, try soaking it in suntan oil for a few days, and set it out in the sun for the same period.
|
|
|
|
| Superhawk996 |
May 31 2025, 05:07 AM
Post
#18
|
|
914 Guru Group: Members Posts: 7,113 Joined: 25-August 18 From: Woods of N. Idaho Member No.: 22,428 Region Association: Galt's Gulch |
QUOTE(JeffBowlsby @ May 30 2025, 05:14 PM) To make a too rigid rubber seal more pliable, try soaking it in suntan oil for a few days, and set it out in the sun for the same period. Or the vendors could just make them to the proper dimensions and out of the proper durometer rubber. Crazy idea I know. (IMG:style_emoticons/default/happy11.gif) note: in defense of the vendors - to make the part to exact OE specs could end up raising the part price to a level that the market won’t bear. I’ve said this before but here goes: I’m grateful for the vendor community we have. Often times it is better to have a poorly fitting part vs no part (NLA) However, it is beyond frustrating to pay good money for a part that clearly doesn’t fit like OE and subsequently has to be modified just to work. Similarly, as was pointed out in this thread, many don’t understand that what they are buying and trying to install is in actuality, quite different than OE. @Jeffbowlsby the suggestion to warm the parts is a great suggestion BTW. In the assembly plants certain rubber parts are often warmed to make them more pliable and easy to manipulate and install. |
|
|
|
|
1 User(s) are reading this topic (1 Guests and 0 Anonymous Users)
0 Members:

|
Lo-Fi Version | Time is now: 2nd June 2025 - 06:53 AM |
Invision Power Board
v9.1.4 © 2025 IPS, Inc.